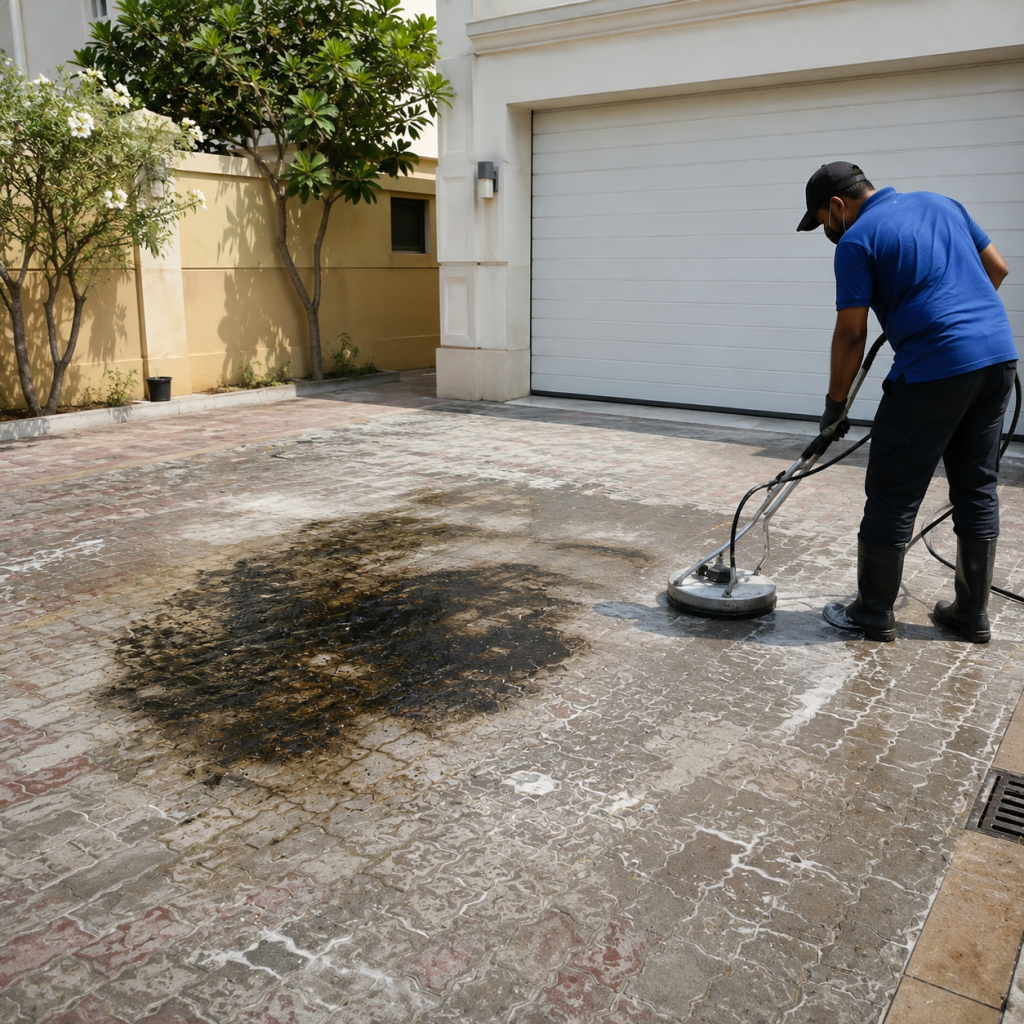
I still remember the first villa driveway that beat me. It was a Jumeirah property with a pale travertine driveway and a dark, kidney-shaped oil patch right where the owner’s Range Rover used to park. I scrubbed it with dish soap. I tried baking soda. I even left a degreaser on it overnight, wrapped in plastic as I’d seen in an old forum post. By morning, the stain had barely faded.
That job taught me something I now tell every homeowner I work with: oil stains in Dubai don’t behave like oil stains anywhere else. The heat here does something strange. It bakes the oil into the stone or concrete before it even has a chance to sit and lift. What works in a cooler climate often just doesn’t work here, and I learned that the hard way over years of trial, error, and experience providing villa cleaning in Sharjah and across the UAE, eventually developing a system that actually works.
Why Dubai Driveways Hold Onto Oil Stains Longer
Ask any cleaner who’s worked here long enough, and they’ll tell you the same thing: Dubai’s climate works against you.
Surface temperatures on an unshaded driveway can climb past 60°C in summer. At that temperature, oil doesn’t just sit on top of the stone or concrete. It thins out and seeps deeper into the pores, especially on natural stone like travertine, sandstone, or textured concrete pavers, which are common in villa driveways across Sharjah and Dubai.
There’s also the sand factor. Fine desert dust settles into every oil stain, mixing with it and forming a crusty, dark layer that’s part grime, part oil, part mineral residue. That combination is much harder to lift than fresh oil alone.
And then there’s time. Many villa owners don’t notice a drip until it’s already been baked in for weeks, sometimes months. By the time someone calls a cleaner, the stain has usually gone from “surface spill” to “embedded discoloration.”
What Actually Removes Oil Stains From Villa Driveways
Here’s the process I use on most jobs, adjusted depending on the surface and how old the stain is.
Step 1: Identify the Surface Before Touching a Chemical
This is the step most DIY guides skip, and it’s the one that causes the most damage.
Natural stone (travertine, limestone, sandstone) reacts badly to strong acids. Acidic cleaners can etch the surface, leaving a dull patch that’s arguably worse than the original stain. Sealed concrete and interlocking pavers can usually handle a wider range of degreasers, but sealants themselves can trap oil under the surface, which changes the removal approach entirely.
I always run a small test patch in a hidden corner first. Five minutes of caution saves hours of regret.
Step 2: Absorb Fresh Oil Immediately
If the spill is fresh, this step alone can prevent 80% of the staining.
- Cover the spill with cat litter, sawdust, or baking soda
- Let it sit for a few hours to pull oil up and out of the surface
- Sweep it away, then rinse with water
Fresh oil that hasn’t had time to bond with the surface is dramatically easier to remove than oil that’s been sitting for weeks under direct sun.
Step 3: Apply a Degreasing Poultice for Older Stains
For stains that have already set in, plain scrubbing rarely works. What works is a poultice: a paste made from an absorbent material (like diatomaceous earth or baking soda) mixed with a degreasing agent.
The paste is spread over the stain, covered with plastic to slow evaporation, and left for 24 to 48 hours. As the liquid degreaser evaporates, it pulls the oil up out of the pores and into the absorbent material, which is then scraped and rinsed away.
This is slower than most people expect. It’s also the method that actually works on stains that have been there for months, not just days.
Step 4: Use Pressure Washing to Finish the Job
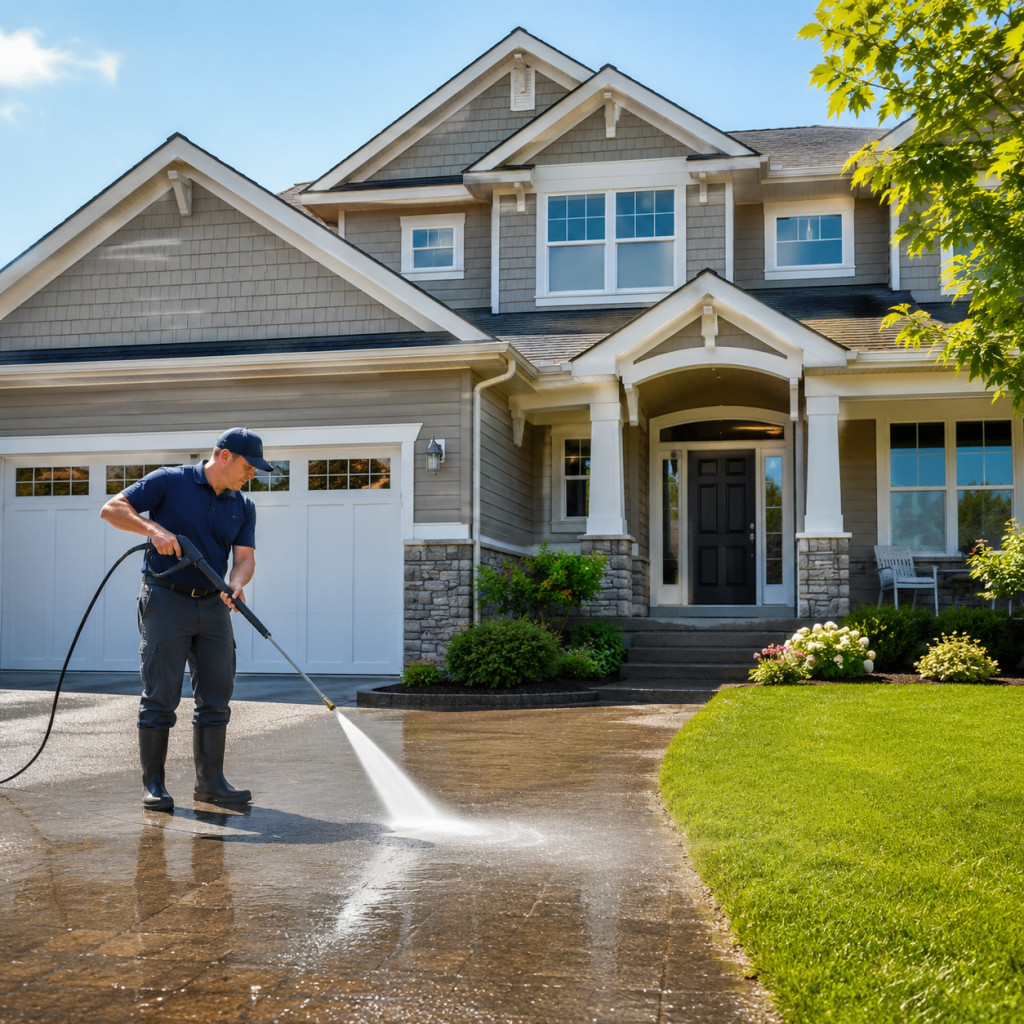
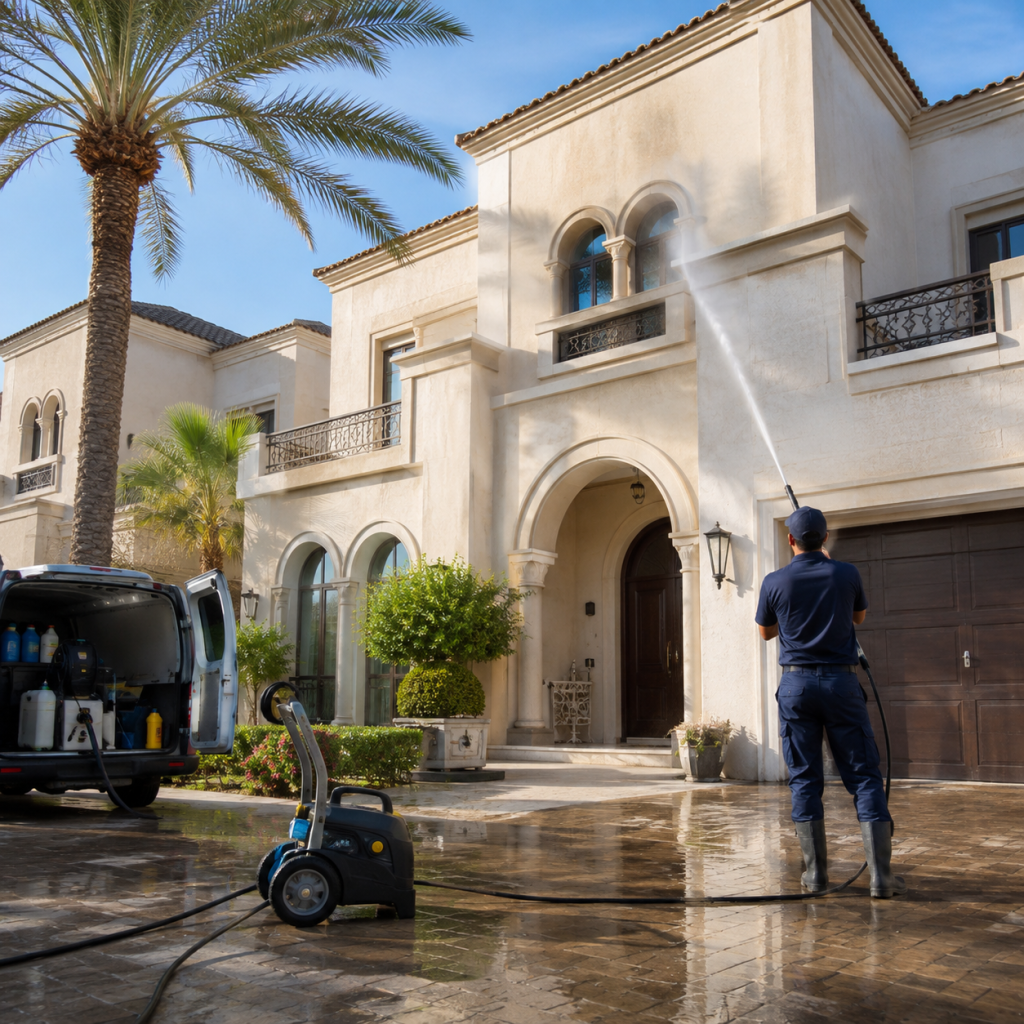
Once the poultice has done its work, a final pressure wash lifts remaining residue and evens out the surface tone. This step needs the right pressure setting and nozzle angle, because too much force on softer natural stone can cause pitting or surface wear.
I’ve written in more detail about when pressure washing works better than gentler soft washing methods for different villa exterior surfaces in this comparison on pressure washing for driveway oil stains, if you want to understand which approach suits your driveway type.
Step 5: Seal the Surface to Prevent Repeat Staining
Once the driveway is clean and completely dry, applying a breathable sealant closes up the surface pores that oil would otherwise soak into next time. This step is often skipped, and it’s usually why the same stain reappears within a year.
DIY vs. Professional Oil Stain Removal: What I’d Actually Recommend
Homeowners often ask me if they can just handle it themselves. Honestly, for a fresh, small spill, yes. The absorb-and-rinse method in Step 2 works fine for most people.
But for older, larger, or deeply set stains, I’d be lying if I said DIY consistently works. The poultice method needs the right ratio of degreaser to absorbent material, the right dwell time, and surface-specific knowledge to avoid etching or discoloration. I’ve been called in more than once to fix a driveway after a DIY attempt made the stain lighter in the middle but left a faint ring around the edges, which is often harder to correct than the original stain.
If your driveway is natural stone, or the stain has been there for more than a few weeks, it’s usually worth getting a professional opinion before reaching for anything acidic.
Why Full Villa Exterior Cleaning Matters, Not Just the Driveway
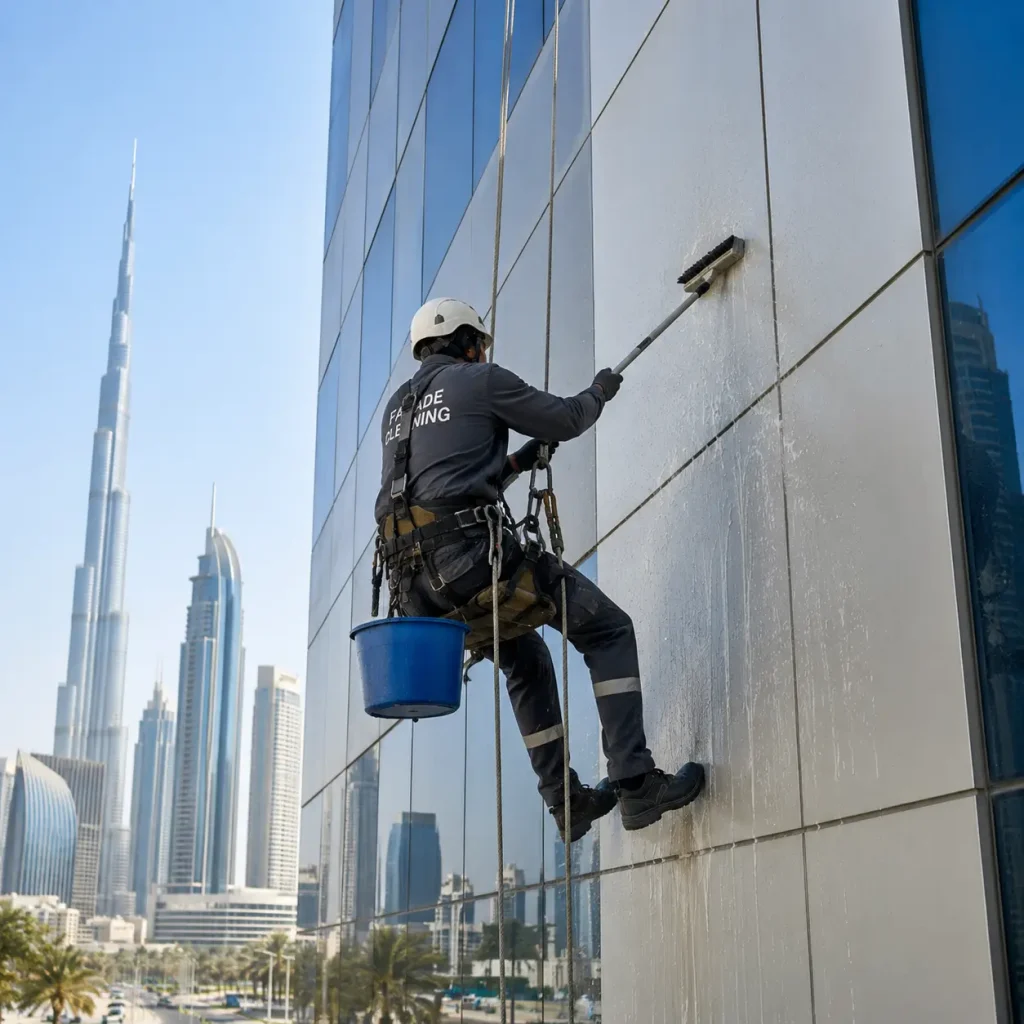
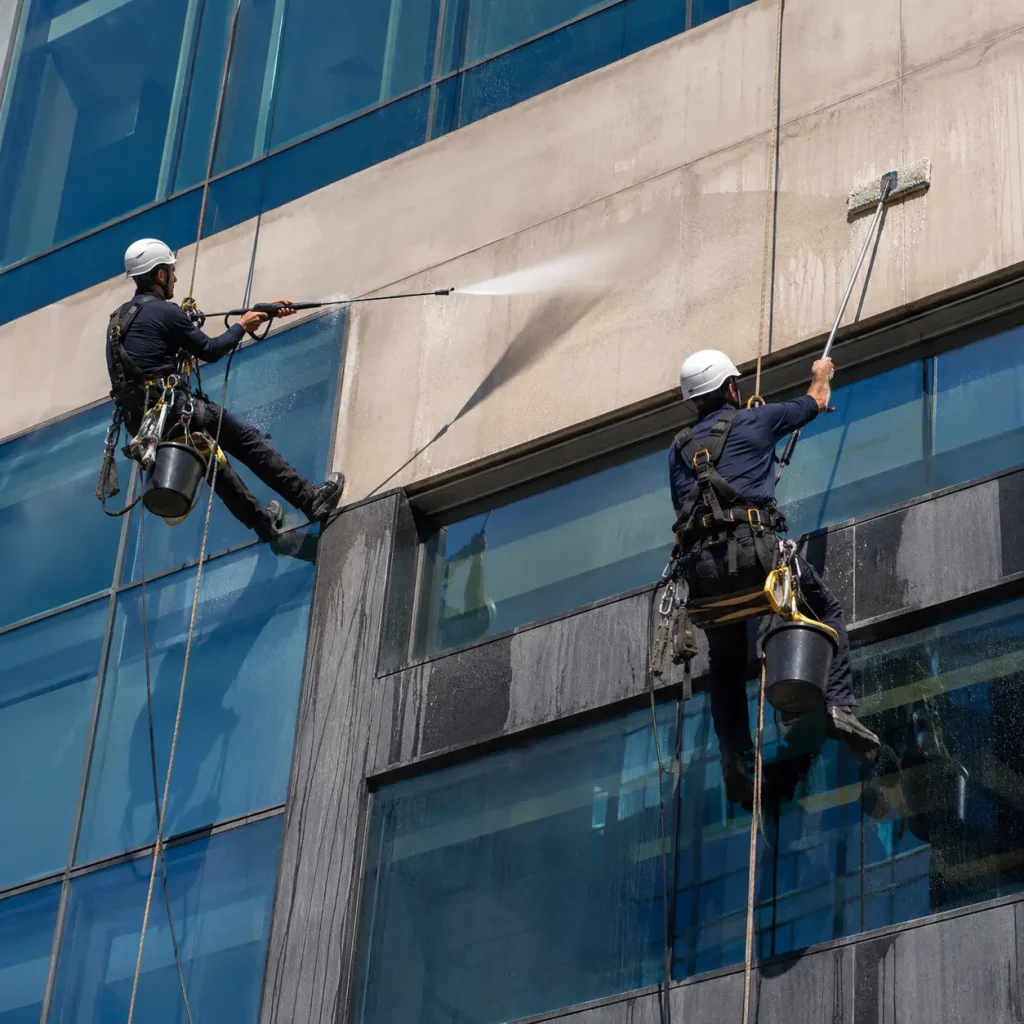
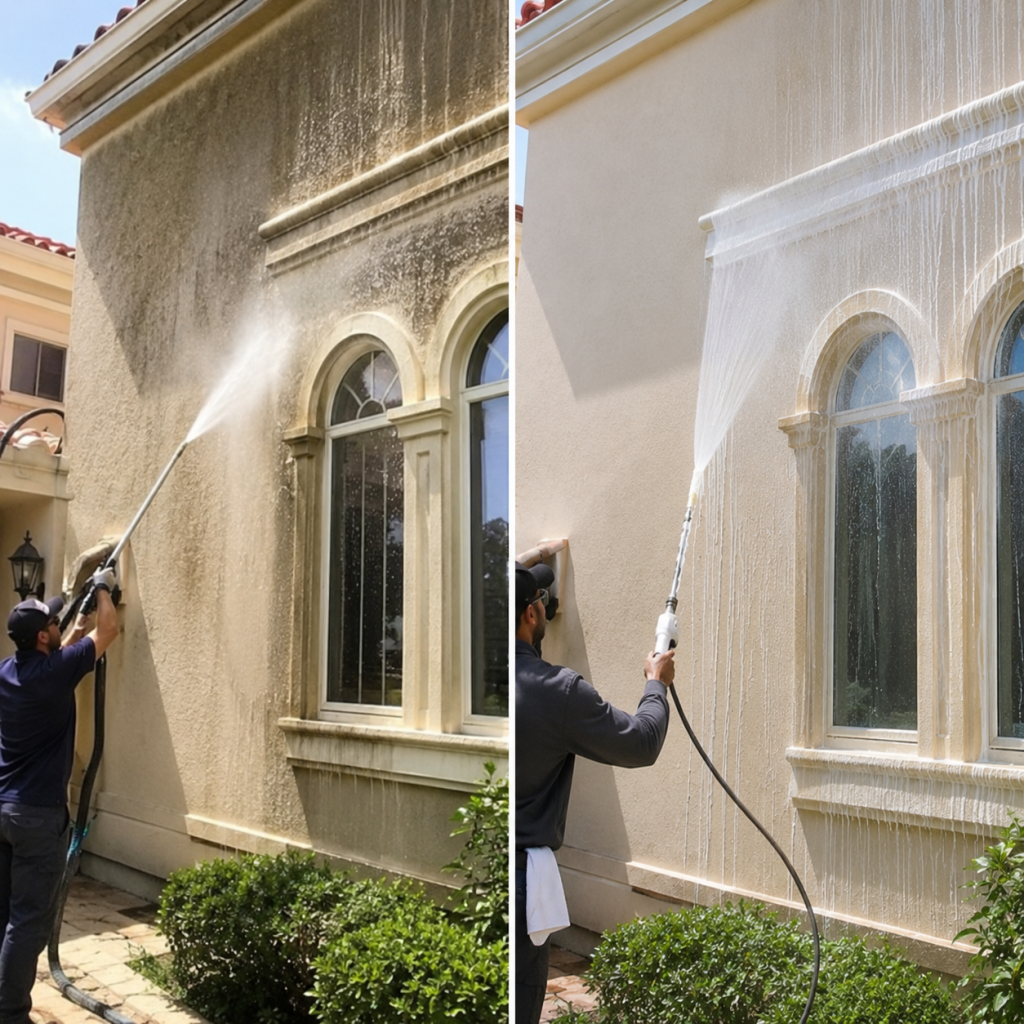
Oil stains rarely show up alone. In most of the villas I’ve worked on, a stained driveway usually comes with dusty facades, grimy windows, and algae creeping along shaded walls. Treating the driveway in isolation fixes one problem while ignoring the rest of the exterior’s upkeep.
If you’re already planning driveway work, it’s worth reading about how professional villa exterior cleaning compares to DIY approaches for the rest of your home’s exterior, since the same climate factors that bake in oil stains also accelerate dust buildup and glass staining.
For villa owners in Sharjah specifically, a full seasonal approach tends to hold up better than one-off spot cleaning. Our detailed breakdown of villa cleaning in Sharjah covers how driveway care fits into a broader maintenance routine suited to the local climate.
Professional Driveway Cleaning That Preserves Every Surface
Oil stains on a Dubai villa driveway aren’t just a cosmetic annoyance. Left untreated, they harden into the surface and become part of the driveway’s appearance for years. The good news is that with the right sequence, absorb, treat, wash, seal, even stubborn stains can be lifted without damaging natural stone or concrete.
If your driveway has a stain that’s outlasted your patience, or you’d rather have someone experienced handle it the first time, our team offers professional Building Cleaning Services in Sharjah covering driveways, facades, and full villa exteriors. Get in touch for a free assessment, and let’s get your driveway back to looking the way it should.
Frequently Asked Questions
Can Coca-Cola or vinegar remove oil stains from a driveway?
These household remedies sometimes lighten very fresh, minor stains, but they rarely work on set-in oil, and vinegar can etch natural stone. They’re not something I’d rely on for a villa driveway.
How long does it take to remove an old oil stain from concrete?
Using the poultice method, expect 24 to 48 hours of dwell time per application. Deeply set stains sometimes need two or three rounds before the discoloration fully lifts.
Will pressure washing alone remove oil stains?
Pressure washing helps rinse away loosened residue but rarely removes deeply absorbed oil on its own. It works best as a finishing step after a degreaser or poultice has broken down the stain.
Is it safe to use strong degreasers on natural stone driveways?
Not always. Acidic or highly alkaline products can etch travertine, limestone, and sandstone. Always test on a hidden area first, or use a stone-safe degreaser.
How often should villa driveways be professionally cleaned in Dubai?
Most villa owners benefit from a professional deep clean every 3 to 6 months, especially before summer, when heat accelerates staining and dust buildup.